English
 Español
 Deutsch
Industry News

(86-579)8507 2566
Welcome to Zhejiang Weiya Cosmetics Co., Ltd.





Welcome to Zhejiang Weiya Cosmetics Co., Ltd.
Oct 20, 2026
A highlighter looks smooth in the pan and soft on the back of the hand. Then it goes on the cheek, a window light hits it, and every pore beside the nose seems to have a tiny spotlight. The product is rarely at fault on its own. Light, particles, quantity, and the makeup underneath all play a part.
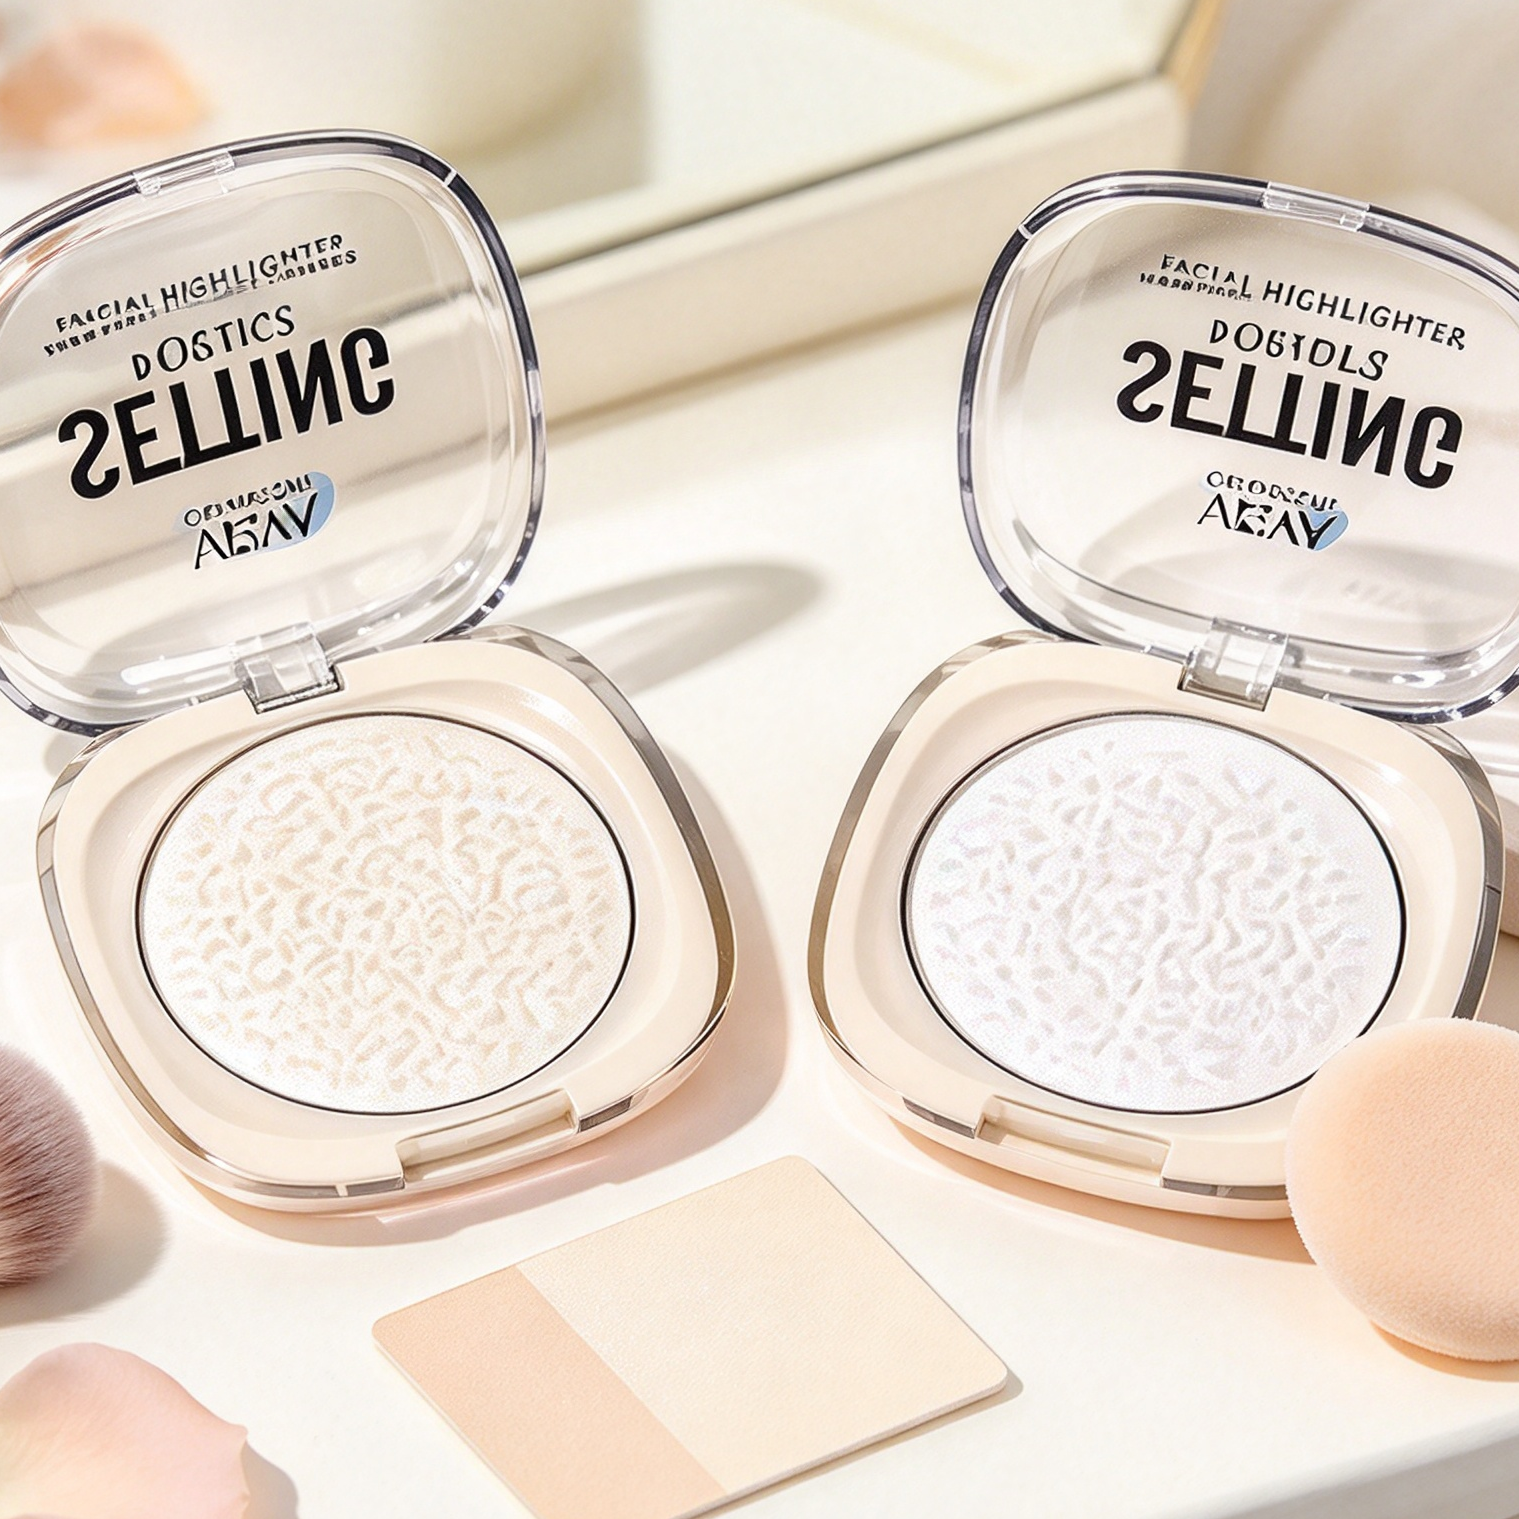
Facial Highlighter Powder reflects light by design. That reflection can flatter smooth areas and call attention to texture elsewhere. Here is how to find the cause and adjust without giving up the glow.
Pores are a normal part of skin. Their look shifts with oil, dryness, lighting, and whatever sits on the surface. A highlighter adds reflective particles, so it directs the eye toward the area where it lands. If that area is textured, the texture gets the attention too.
Contrast does the work. Reflective particles sit on the raised skin and in the edges around openings, so tiny bright points sit next to tiny shadows. The surface then reads as uneven, even though the skin has not changed.
Common contributors include:
Change one thing at a time. If you alter the brush, the amount, and the placement together, you will not know which fix worked.
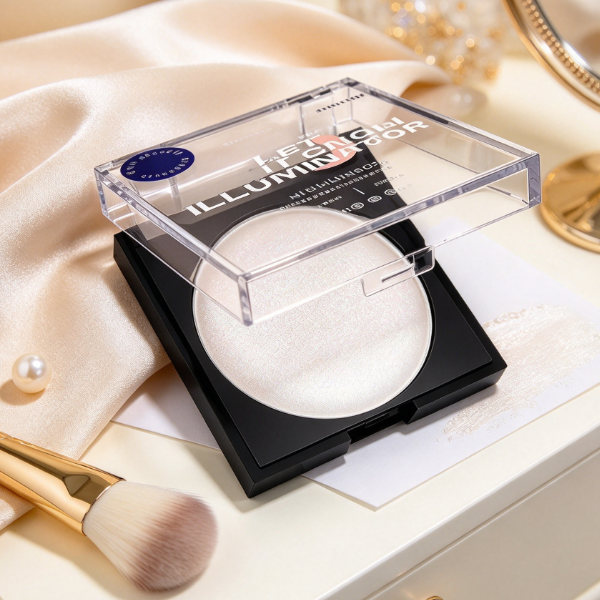
Some formulas give a soft sheen that merges into the skin. Others carry distinct pearl or sparkle particles that behave like small mirrors. On smooth skin, those mirrors can look deliberate. Over pores, fine lines, or small bumps, they highlight every change in the surface.
Fine particles often blend better, but size is not the only factor. Distribution, base color, and quantity all affect how the powder reflects light.
| Particle Appearance | Possible Visual Effect |
|---|---|
| Fine, subtle shimmer | Soft, diffused glow |
| Clearly visible pearl | More noticeable points of light |
| Strong sparkle | Draws attention to selected areas |
| Uneven distribution | Patchy surface |
| Reflective particles over textured skin | Emphasis on pores and small bumps |
To test a product, swipe a small amount on the cheek and check it in different light. A bathroom mirror may soften the effect, while a sunny window or a phone flash shows how strongly the particles reflect. Photographs taken close up are the harshest judge, so check there too if you plan to be photographed.
A reflective finish can look fresh and dimensional when light spreads evenly. Trouble starts when brightness gathers around textured spots, or when the highlight is far shinier than the rest of the face. A matte cheek next to a strongly reflective stripe makes the contrast obvious. A gentler transition helps the glow look like part of the complexion.
A shade that contrasts sharply with the skin forms a visible patch, especially when applied heavily. Undertone plays in as well: a warm shade can look off on a cool complexion, and an icy shade can stand out on deeper skin. Still, a well-matched color can emphasize pores if it carries visible sparkle or goes on thick. Judge the shade on the face in daylight, not under shop lighting.
More powder seems like a shortcut to more glow. It also adds more particles to sit around pores. A thin layer lets the skin and base makeup show through, and you can add brightness gradually where it is wanted.
The applicator changes how much product reaches the face. A dense brush can deposit a lot in one pass, a soft fluffy brush spreads a lighter veil, and a fingertip or sponge concentrates the product. A simple routine works well:
If pores look more obvious after a second layer, the amount is the likely cause. A clean, soft brush can lift away excess and even out the finish.
Each pass leaves more product on the skin. Powder can build up around dry spots or openings, and heavy back-and-forth strokes can drag foundation out of place. The result is patches that reflect light differently across the cheek.
Work in light passes and pause between them. Foundation, concealer, setting powder, blush, and highlighter all occupy the same surface, so natural texture can show once too many layers stack up, even if each product seems smooth alone.
The cheek is a usual location, and it is also where pores can be most visible for some people. You do not have to skip the area. Keep the glow on the upper cheekbone, where the surface is raised, rather than across the center of the cheek.
| Application Area | Placement Note |
|---|---|
| Upper cheekbone | Focus the glow on the raised area |
| Center of the cheek | Check whether pores become more obvious |
| Nose | Use a light touch to avoid a hard stripe |
| Brow bone | Blend into the surrounding makeup |
| Inner corner of the eye | Apply with care to avoid a bright patch |
The skin beside the nose often shows pores and natural texture. A strong shimmer placed right there can look rough under direct light. Moving the strongest glow outward and blending toward the nose often smooths the look. If the highlight appears textured near the nose but smooth farther out, placement is probably the cause.
Face shape and skin differ from person to person, so no single rule fits everyone. Watch where light naturally falls on your face and place the product there.
Highlighter sits on top of everything else. If foundation has separated, collected in pores, or settled into dry patches, reflective powder will point those problems out.
Adding more skincare or primer does not always help. Too many layers can leave skin slippery and make makeup slide. Give each product time to settle before applying powder. A base that still feels wet or tacky grabs highlighter unevenly, while a very dry, powdery base can make it look patchy.
Try a simple comparison. Apply highlighter over your usual base on one cheek and over a lighter base on the other, then view both in the same light. The difference shows whether the powder or the layers beneath it create the texture.
Oily skin can add its own shine through the day. Natural oil mixed with reflective makeup makes the highlight look brighter than when it was applied, particularly around the nose and inner cheek. A light touch keeps this under control.
Dry skin brings a different problem. Powder clings to flaky patches and makes uneven areas stand out. Preparing the skin for its own needs, and skipping extra layers, helps the powder sit evenly.
Product labels only go so far. A formula can look subtle in the pan and strong on the face, while a sparkly one may look soft when used sparingly. Trust the finish on your skin.
Patchiness can come from uneven product, a shifted base, or dry spots that catch powder. Note when it appears. If it shows right after application, look at the amount, brush technique, and base preparation. If it develops later, oil, sweat, or movement of the makeup underneath may be responsible.
Run through these checks in order:
Brands developing a highlighter should test how it looks on real skin, not only in the pan. A powder can have an appealing color and feel in the container yet behave differently over foundation or on skin with visible pores. Reviewers can compare application methods, skin conditions, and lighting, and check whether the powder spreads evenly and keeps a consistent finish at close and far viewing distances. Testing over common base combinations, such as foundation with setting powder or primer, shows how people will use it day to day. Clear instructions on amount, brush choice, and placement also help users get the intended result.
Buyers can start by naming the finish they want: soft sheen, visible pearl glow, or sparkle. Each gives a different outcome. Then consider where the product will go. Someone who highlights only the upper cheekbone has different needs from someone who likes brightness across the nose and inner cheek.
Check how the powder blends, how it works with existing makeup, and whether the finish holds in everyday light. Looking at particles, quantity, placement, and the base together makes it easier to keep the glow while softening the attention on pores. Facial Highlighter Powder then reads as a soft lift rather than a spotlight on texture.
Your email address will not be published. Required fields are marked *