English
 Español
 Deutsch
Industry News

(86-579)8507 2566
Welcome to Zhejiang Weiya Cosmetics Co., Ltd.





Welcome to Zhejiang Weiya Cosmetics Co., Ltd.
Nov 06, 2026
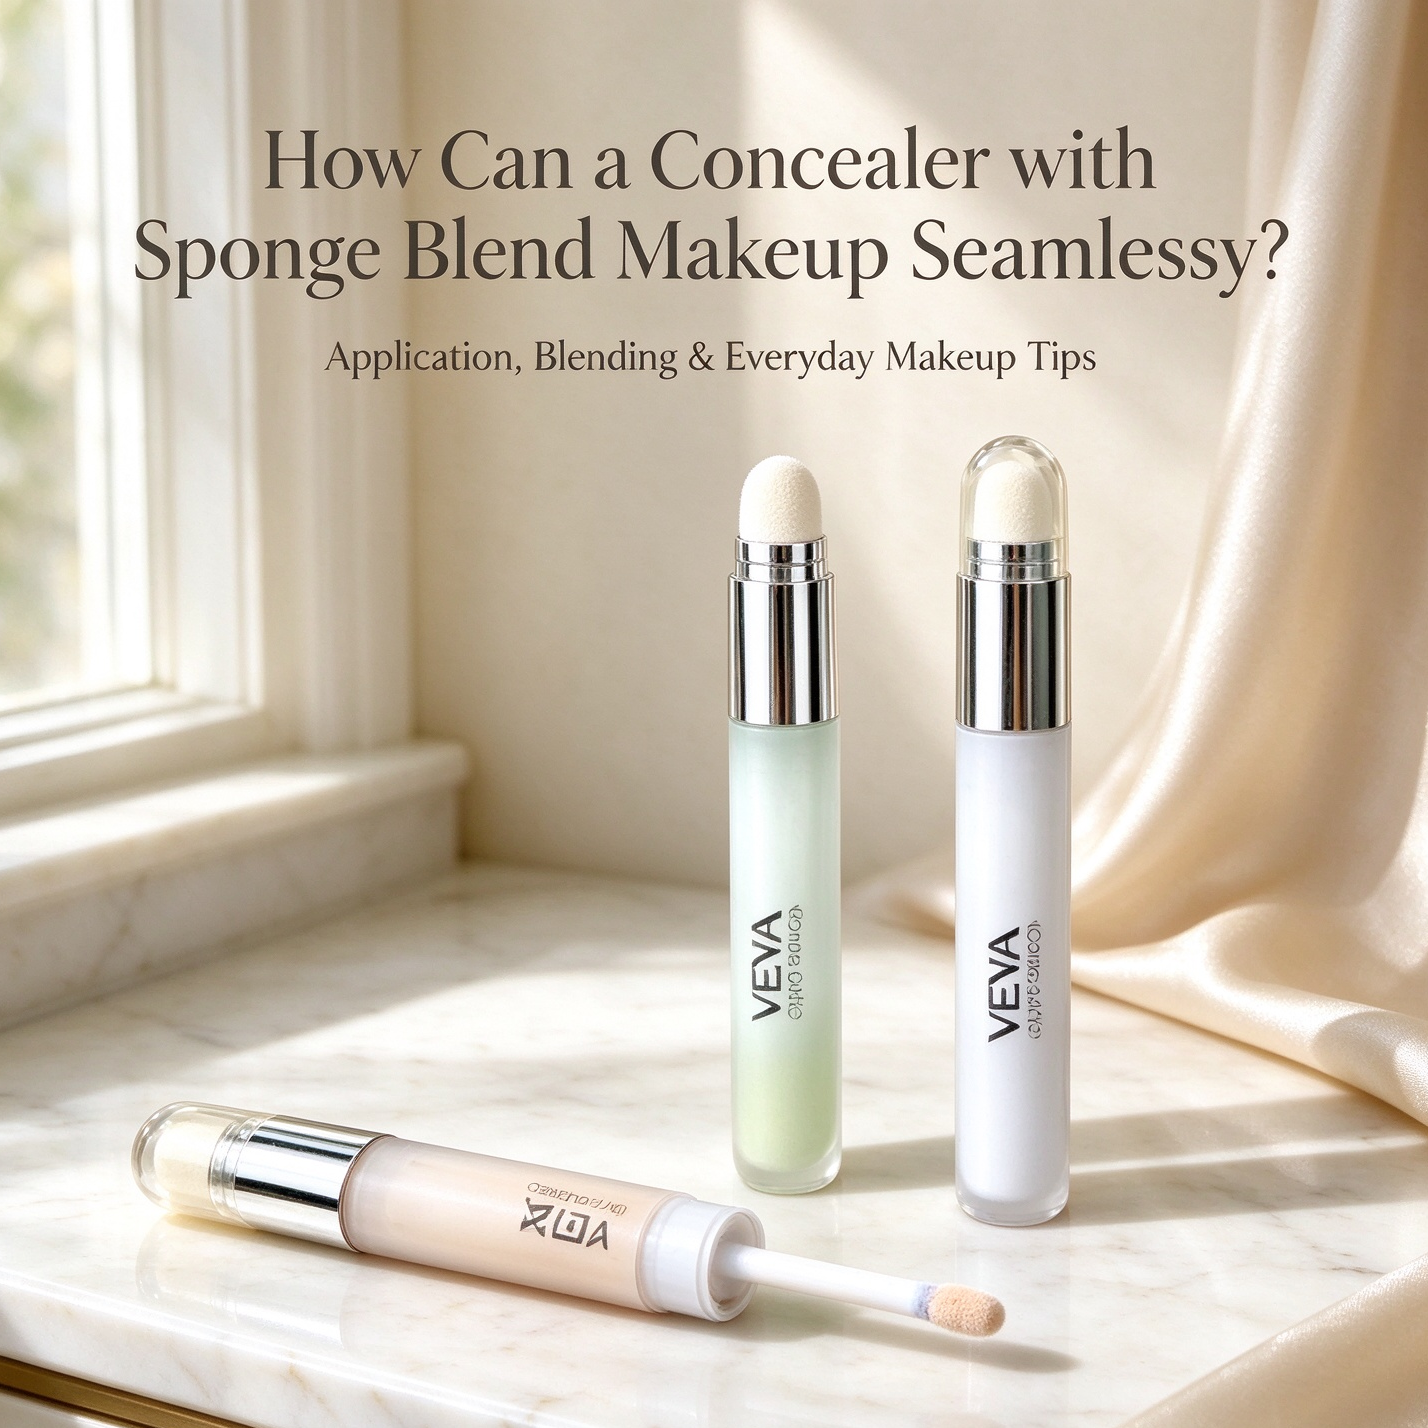
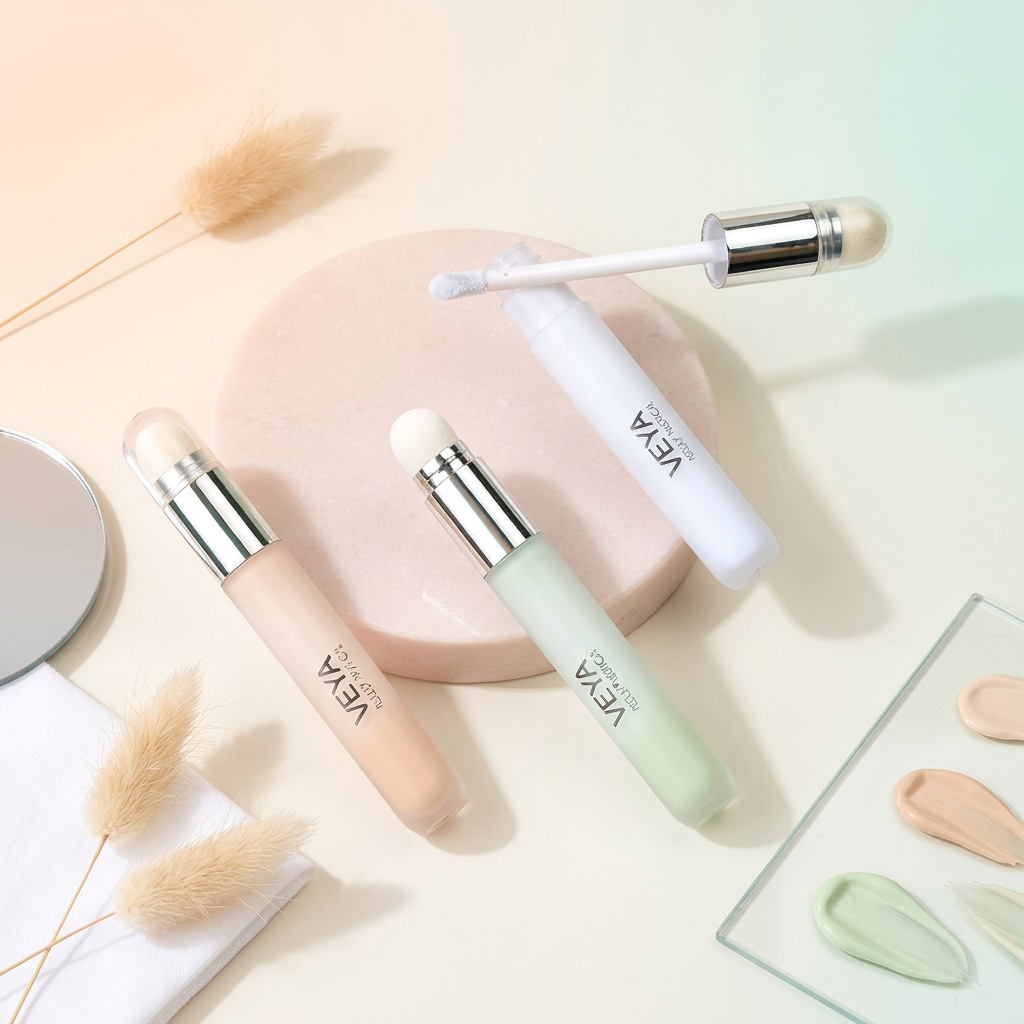
A concealer that covers a shadow or blemish can still look uneven if its border stays visible against the foundation. Shade is only part of the explanation. Placement, quantity, pressure, and skin condition shape the finish just as strongly. A Concealer with Sponge places a blending surface within the packaging, so application and softening can follow one another without reaching for another tool. A Double Ended Concealer combines two functions in a single body, often a placement tip and a blending tip.
Both formats suit small, targeted areas: the inner eye corners, the creases beside the nostrils, the skin around the mouth, and individual marks. Understanding how each behaves on real skin makes it easier to build a base that looks even in daylight, not only in a bathroom mirror.
A visible edge forms when the covered area differs from the surrounding skin in texture, finish, or thickness. Foundation may look soft and skin-like, while the concealer on top looks denser and flatter. The eye picks up that change in surface even when the shades match closely.
Several routine habits produce hard lines:
Skin condition adds another layer. Dry patches hold concealer unevenly, so it gathers at the edges of flaking. Oily areas allow product to slide while it is being blended. Skin around the eyes, nose, and mouth also differs in thickness and movement, which means a single technique rarely suits every zone.
Usually it makes the border more obvious. A smaller amount, placed precisely and blended along its outer rim, gives a more natural result. Many people reach for extra concealer because a mark still shows in a close mirror, though the same mark is rarely noticeable at conversation distance. Checking the face at arm's length, ideally near a window, gives a more realistic view of what needs attention.
A sponge tip spreads the outer rim of the product through light tapping. The sharp line turns into a gradual fade, and the coverage in the center stays in place. Because the sponge is attached to the product, the same hand movement that places concealer can carry on into blending before the formula begins to set.
Pressure deserves attention. Heavy pressing lifts concealer and disturbs the layer beneath it, which can expose skin that foundation had already covered. Gentle taps allow gradual adjustment. The center should remain largely untouched, since the purpose is to soften the border and keep the coverage.
Shape decides which areas the tip can reach comfortably. Under the eyes, skin is thin and moves with each blink, so a compact tip works better than a broad one. Beside the nostrils, a pointed tip reaches the crease where wide sweeping motions would push product onto the cheek.
| Sponge Shape | Suitable Use |
|---|---|
| Rounded tip | Softening the edges of small concealed areas |
| Pointed tip | Narrow zones beside the nose and at the eye corners |
| Flat surface | Spreading product along the cheekbone or around the mouth |
| Angled surface | Following facial contours such as the chin and jawline |
If the shape makes an area difficult to reach, a second tool becomes necessary. Choosing a shape that matches the places where concealer is used most often reduces that need.
A frequent mistake is moving the sponge back and forth across the whole application. This thins the concealer and brings the original mark back into view. Working only along the rim and leaving the center intact keeps coverage where it is needed.
| Habit | Likely Result |
|---|---|
| Thin first layer | Easier adjustment and smoother blending |
| Tapping along the edges | Softer boundary |
| Heavy pressure | Product lifts or shifts |
| Rubbing the center | Coverage fades |
| Too much concealer | Thick, uneven finish |
Dry skin benefits from moisturizer applied early enough to settle before makeup. Concealer placed over a slippery or tight surface tends to separate and cling to flaky spots. A creamier formula and very light tapping often suit these conditions.
Oily skin tends to move product during the day, particularly around the nose and chin. A thin layer, a small amount of powder only where needed, and blotting before any touch-up help the finish hold. Adding fresh concealer over oil and older product usually produces patches.
A sponge does not repair a mismatched shade or an incompatible foundation. If edges remain visible after careful tapping, the shade, the texture pairing, and the skin preparation are better places to look.
A Double Ended Concealer places two functions in one body. One end may deposit product while the other blends it. Some designs pair a brush-like tip with a sponge, and others offer two tips of different shapes.
| Design | Practical Use |
|---|---|
| Applicator and sponge | Placing and blending in sequence |
| Brush and blending tip | Precise placement followed by edge softening |
| Two tip shapes | Different facial areas with one product |
The format suits short mornings, desk touch-ups, and travel, where one item replaces a brush and a separate sponge. A person correcting a small mark on the way to a meeting can place and blend without opening a makeup bag full of tools.
The ends should be easy to tell apart and comfortable to hold, and the cap should close securely so the sponge stays clean inside a bag. A second end adds value when it performs a clear task. Read the product description to confirm what each end is designed to do, since two products with the same name can be built quite differently.
Formula changes the way a sponge handles the product, so the same technique may need slight adjustment from one concealer to another.
| Texture | Blending Consideration |
|---|---|
| Fluid | Light taps keep it from spreading too far |
| Cream | Work in small sections around the rim |
| Thick | Apply sparingly and blend carefully |
| Quick-setting | Soften edges soon after placing |
| Moisturizing | Check how it sits over foundation |
Some formulas begin to set within moments of contact with the skin. If blending is delayed, the product resists movement and leaves a visible edge even when the technique is correct. A fluid formula may need only a few taps, while a dense cream benefits from smaller sections and patience.
Foundation matters here too. A thick cream concealer over a light liquid foundation can look heavy at its rim because the two differ in thickness and finish. Testing the pair on the jaw or the side of the nose, then looking again after a few hours, shows whether the combination holds up.
The sponge meets skin oils, product residue, and airborne particles, so hygiene affects both comfort and skin health. Care depends on the design. Some tips detach and can be washed, while others are sealed into the package and should not be soaked.
Pulling or twisting damages the shape and surface of a sponge. A damp sponge sealed in a closed bag stays moist and may develop an odor, so drying matters as much as washing. Stinging, redness, or swelling near the eyes is a reason to stop using the product.
Start with the places where concealer is used most often, then match the tool to them.
| Consideration | Practical Check |
|---|---|
| Shade | Compare along the jaw or neck in daylight |
| Undertone | Choose a warm, cool, or neutral tone close to the skin |
| Formula | Creamier for dry skin, lighter fluids for oilier skin |
| Tip shape | Narrow for detail, wider for blending |
| Sponge feel | Soft near the eyes, holds its shape under light pressure |
| Packaging | Secure cap and compact body for bags and travel |
| Ingredients | Review the list if the skin is sensitive |
A trial on the intended area, checked again after several hours of normal activity, shows how the product responds to facial movement, oil, and changes in temperature. A Double Ended Concealer suits people who want separate placement and blending functions in one item, while a Concealer with Sponge suits those who prefer a single applicator that handles both steps. The better match is the one that fits the areas covered, the skin type, and the time available each day.
Your email address will not be published. Required fields are marked *